Thingiverse
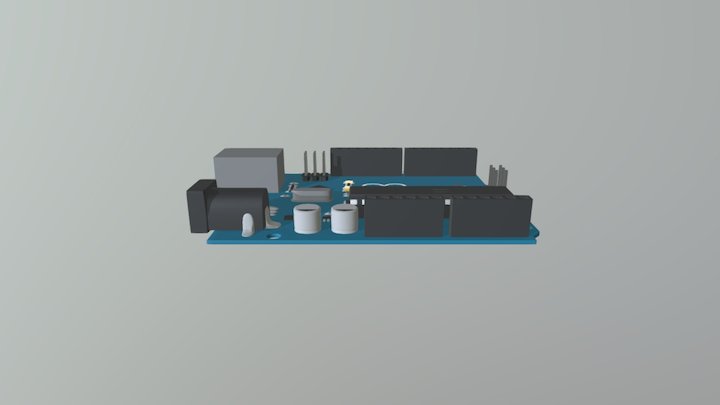
Arduino Optical Mouse
par akosboda
0
Téléchargements
0
Likes
0
Makes
Optical Arduino Mouse Project
This project repurposes the sensor from a (wireless) mouse inside a custom 3D-printed enclosure. While the demonstration uses a CH32V003 Arduino-compatible microcontroller (TFT SPI default SCL= PC5, SDA= PC6) , the code can be adapted with minimal effort to run on most other MCU platforms.
Assembly Instructions:
Prepare the Sensor Module: Disassemble the mouse. Carefully remove the components surrounding the PAW3205 optical sensor chip. Using a jigsaw, cut the PCB around the sensor, aiming for a final size of approximately 18 x 43mm. Preserve only the essential components: the two capacitors connected to pins 6, 7, and 8, as well as the LED and its current-limiting resistor.
Reassemble the Optical Unit: Position the optical assembly (lens) and the trimmed sensor PCB back into the original mouse housing in their correct alignment. Secure them together with adhesive. Important: Ensure no glue obstructs the optical path between the lens , LED and the sen
Vous avez imprimé ce modèle ? Connectez-vous et partagez votre make !
Connectez-vous pour laisser un commentaire
Se connecterPas encore de commentaires – soyez le premier !