Thingiverse


Replacement Parts
Vai al Modello
Broom Handle Screw Fix
8
Download
11
Likes
0
Makes
After printing, you can add a 3" #10 bolt, plus nut through the part. Tighten to a slight tension to try to strengthen the broom handle attachment screw.
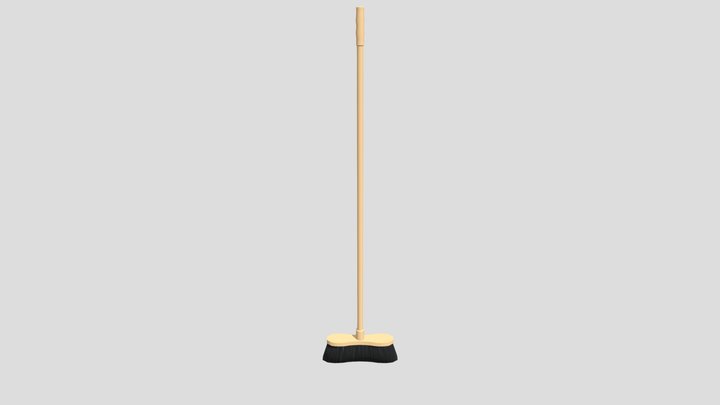
This particular broom had the screw that connected the handle and head shear off right at the edge of the handle.
The remaining broken part in the handle had a hole just over 11mm. The handle is around 22mm wide, and the screw portion is 20mm long, with around a 19mm outer diameter, and 5mm center-to-center on the threads. The broom is from a Canadian Walmart or Superstore some time between 2010-2015.
The replacement part presses firmly onto the handle, and then screws into the broom head, extending it's length 20mm or so.
I'd recommend printing in PETG, Nylon or ASA slightly over your normal print temperature to ensure good layer adhesion. PLA should work too but tends to be more brittle if repeatedly stressed.
This particular broom had the screw that connected the handle and head shear off right at the edge of the handle.
The remaining broken part in the handle had a hole just over 11mm. The handle is around 22mm wide, and the screw portion is 20mm long, with around a 19mm outer diameter, and 5mm center-to-center on the threads. The broom is from a Canadian Walmart or Superstore some time between 2010-2015.
The replacement part presses firmly onto the handle, and then screws into the broom head, extending it's length 20mm or so.
I'd recommend printing in PETG, Nylon or ASA slightly over your normal print temperature to ensure good layer adhesion. PLA should work too but tends to be more brittle if repeatedly stressed.
Hai stampato questo modello? Accedi e condividi il tuo make!
Accedi per lasciare un commento
AccediAncora nessun commento – sii il primo!